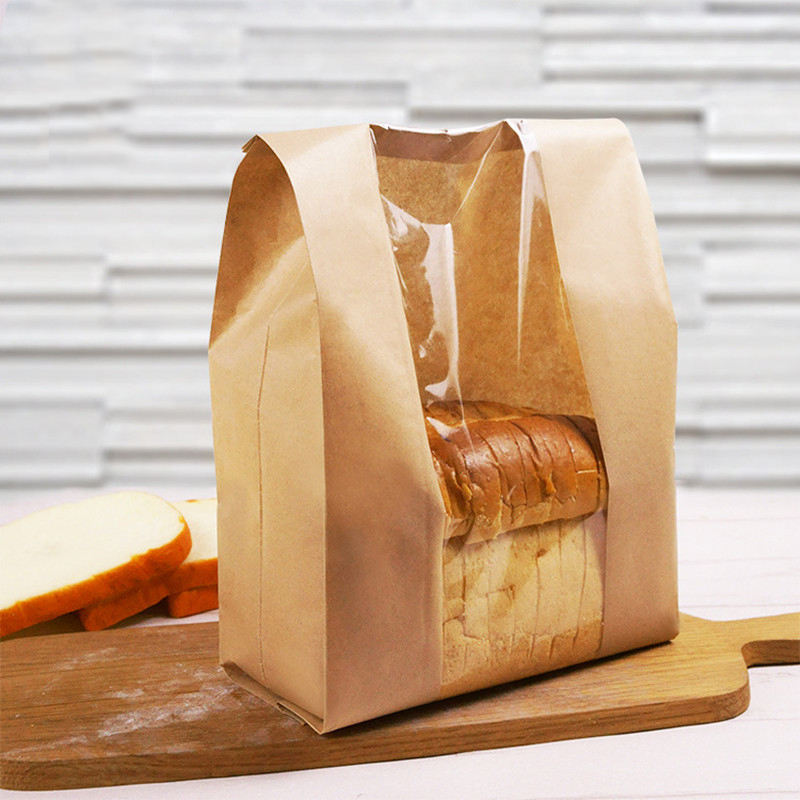
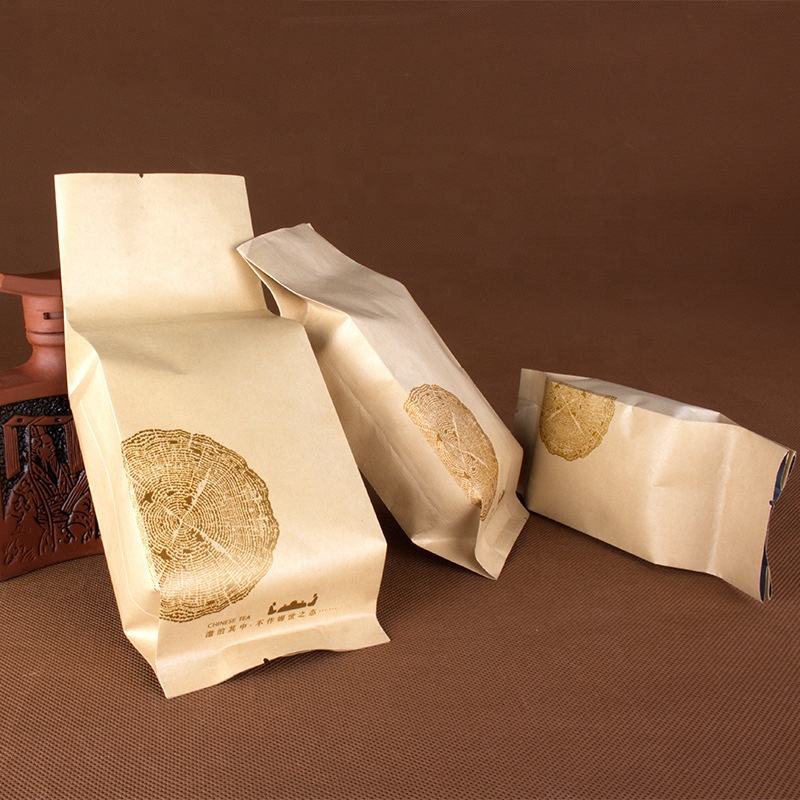
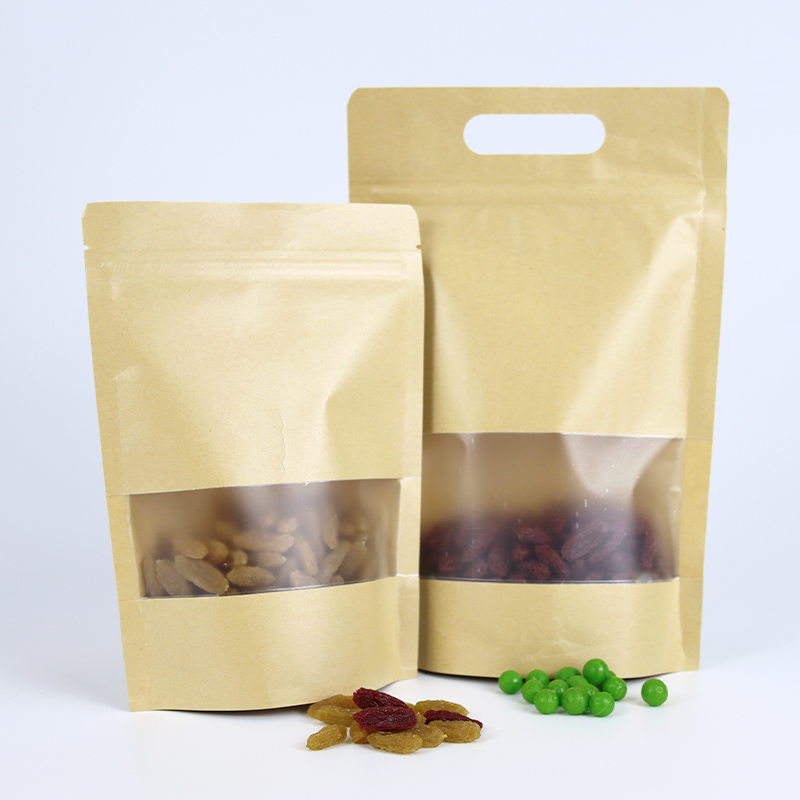
Customizing glassine bags can be a fun and creative way to add a personal touch to your packaging. Here are some steps to customize glassine bags:
- Choose your design: Decide on the design you want to print on the glassine bags. You can use a pre-made design or create your own.
- Choose your printing method: Decide on the printing method you want to use. You can print your design using a digital printer, a stamp, or even handwrite the design with a marker.
- Prepare the glassine bags: Before printing, make sure the glassine bags are clean and free from any debris. If you plan to stamp the bags, test the stamp on a piece of paper first to ensure it is aligned properly.
- Print or stamp the design: If you are using a digital printer, simply print your design onto the glassine bags. If you are using a stamp, place the stamp onto an ink pad and then press it onto the bag.
- Allow the bags to dry: If you used ink or paint to customize the bags, allow them to dry completely before handling them.
- Add any finishing touches: You can further customize the bags by adding stickers, ribbons, or other decorative elements.
With these steps, you can easily customize glassine bags and create unique packaging for your products or gifts.


